$139.99
IN STOCK. SHIPS SAME-DAY IF ORDERED BEFORE 12PM CST M-F.
THE solution to the B8/8.5 Push Clutch to Start issue
We highly recommend the use of a pressure bleeder for installation. Get it here.
Quite simply, if you try to start the car and get the message “Press Clutch Pedal to Start Engine” when the clutch pedal is already pressed, you have the Push to Start Issue.
If you have to push the clutch to the floor and then apply a little to a lot more pressure, you have the Push to Start Issue.
Reasons it occurs:
Your pressure plate’s SAC (self adjusting clutch) mechanism is failing (but your clutch is still fine)
You just installed an aftermarket clutch with different geometry
You just installed the “upgraded” metal slave, which you can no longer compress to get the car to start
You just installed a stainless slave line, which no longer swells under pressure
You don’t have the push to start issue if:
You accidentally knocked loose the master cylinder hall effect sensor or reinstalled it incorrectly after putting in a stainless slave line. Go in there with a screwdriver and push hard to pop it the rest of the way into its seat.
To understand how the extended slave works, first we must understand what causes the Push to Start issue. The clutch position sensor is a hall effect sensor in the end of the master cylinder. A hall effect sensor measures the magnitude of a magnetic field to tell when two objects are a certain distance apart. In our case, it’s measuring when the master cylinder piston is sufficiently pushed in to guarantee the clutch is disengaged. Under normal circumstances, this trigger happens just before the clutch pedal reaches its mechanical end stop.
When the Push to Start issue manifests, something is blocking the clutch pedal from reaching its mechanical end stop and the hall effect sensor from reaching its trigger point.
This something is the end stop of the slave cylinder. The slave cylinder is a self-adjusting hydraulic cylinder. That means that when there is no hydraulic pressure (clutch pedal is at rest), it is free to move wherever it needs to maintain contact with the clutch fork. If you play with one while still hooked up to the car, you’ll find it has a moderate amount of outwards pressure, but can be compressed by hand. The purpose of this is so that the end of the slave cannot fall out of its seat in the clutch fork.
When you go to push the clutch pedal in, the position of the slave travel becomes the starting point for the travel of the system. If that starting point is too far out in the slave travel, the slave will run into its end stop before the clutch pedal has hit the floor and the hall effect sensor is triggered. You may notice if you jam the pedal into the floor you’ll get the car to start. This is because you’re squashing the plastic end stop on the slave. Do it too hard or too many times and it will break, leaving you stranded.
By making the slave cylinder longer, we can compensate to make it start farther back in its travel, giving more total travel from the starting point. This solves the Push to Start issue.
So…what causes the starting point to be too far out? A number of things:
A new aftermarket clutch with slightly different geometry than OEM. Many clutches come with special throw-out bearings that compensate for the difference in clutch finger protrusion from the body. If the calculations are just a bit off, it can cause the clutch fork to start farther away from the slave.
An aging OEM or aftermarket clutch. Most pressure plates come with SAC (self-adjusting clutch) mechanisms, which are designed to compensate for lost clutch material by slowly expanding as needed. Unfortunately, it doesn’t always work right, and the mechanism can overcompensate, changing the position of the diaphram springs, and again causing the clutch fork to start farther from the slave. Here’s a video that shows how an SAC mechanism works:
In this video the technology behind SACHS XTend Clutches for Commercial Vehicles is explained.
Installing a new slave cylinder. If you previously had a plastic slave and went to the “upgraded” metal slave, and you had a mild case of the Push to Start issue before, you may find that the new metal slave is incompressible. Jamming on the pedal doesn’t work anymore since the body won’t flex enough to give you that last little bit of travel. In some cases, just switching from one brand of slave to another can cause the issue, since they may have slightly different geometries.
Installing a stainless clutch line. The stainless lines have a little less flex and expansion in them than the OEM line. Much like switching to a metal-bodied slave, sometimes this can push the system over the edge. More often than not though, if you just did a stainless line and your car isn’t starting at all now, it’s likely you dislodged and didn’t get the clutch position sensor seated correctly in the master cylinder. You can reach it from the top with a long screwdriver. Apply a fair amount of pressure to get it seated all the way.
Tools needed:
T20 driver
#3 Phillips driver
Flat head driver or trim puller
M10 XZN triple square socket
11mm wrench
Euro brake fluid pressure bleeder
Jack & jackstands or a lift
Disclaimer: always have a trained professional install your parts. JXB is not responsible for damage to parts or injury due to installation of parts. Follow this guide at your own risk!
Fill the pressure bleeder with 1-2 qts of brake fluid and attach to the brake reservoir. Do not pressurize it.
Get under the car on the drivers side.
Remove the rear underbody shield covering the transmission. On an OEM car it will be 2 x T20 screws, 3 x #3 Phillips 1/4 turn screws, and 2 round clips you’ll have to pry the center portion out in order to remove.
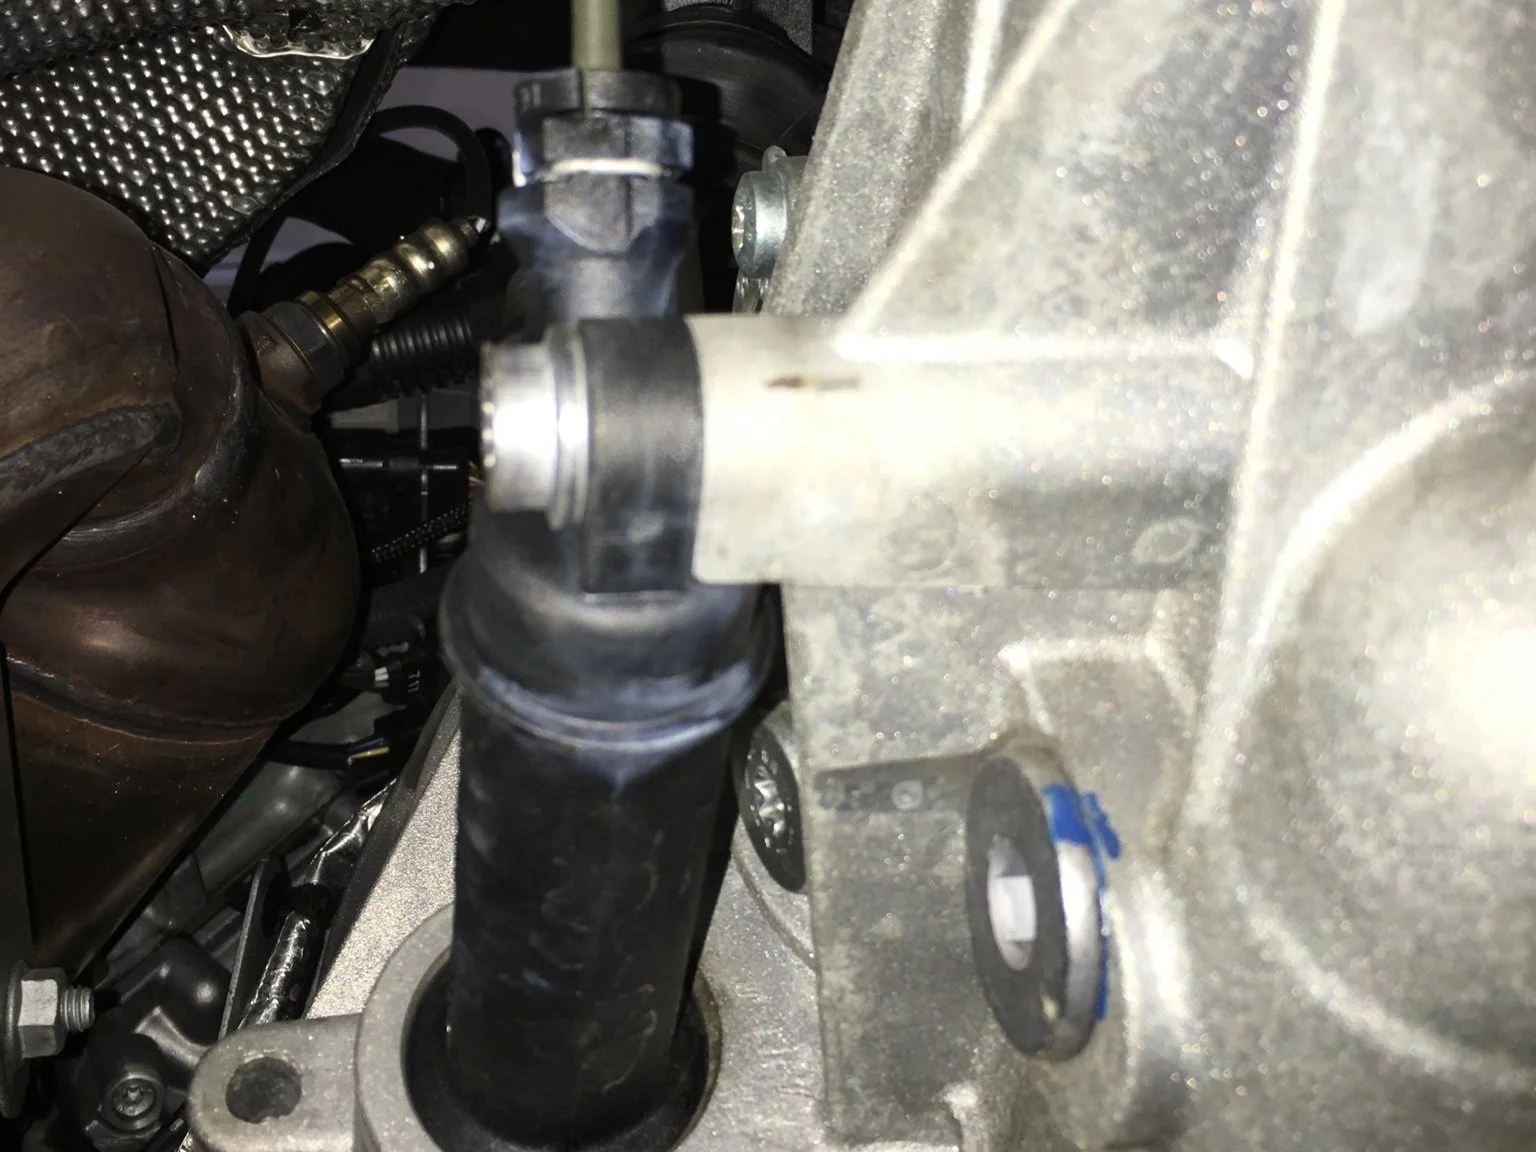
Locate the slave cylinder on the driver side of the transmission. Remove the M10 triple square bolt holding it to the transmission.
Pry the slave cylinder away from the transmission and wiggle it out of the hole. Be careful to hang onto the dust boot as it easily separates from the body of the slave.
Get the extended slave cylinder ready. Make sure the bleeder valve is closed; sometimes they’re open from the factory.
If you have a 2nd person available, have them get ready to pressurize the pressure bleeder.
Undo the retaining clip from the slave cylinder line with a screwdriver and make a quick switch from the old to the new cylinder. The faster the better, so you introduce less air into the system. Push in the retaining clip on the new slave.
Pressurize the pressure bleeder to 3-5 psi. Do not overpressurize!
Open the bleeder valve on the slave with the 11mm wrench. Continue to bleed until no air bubbles are coming out, maintaining pressure as needed. Close the bleeder valve.
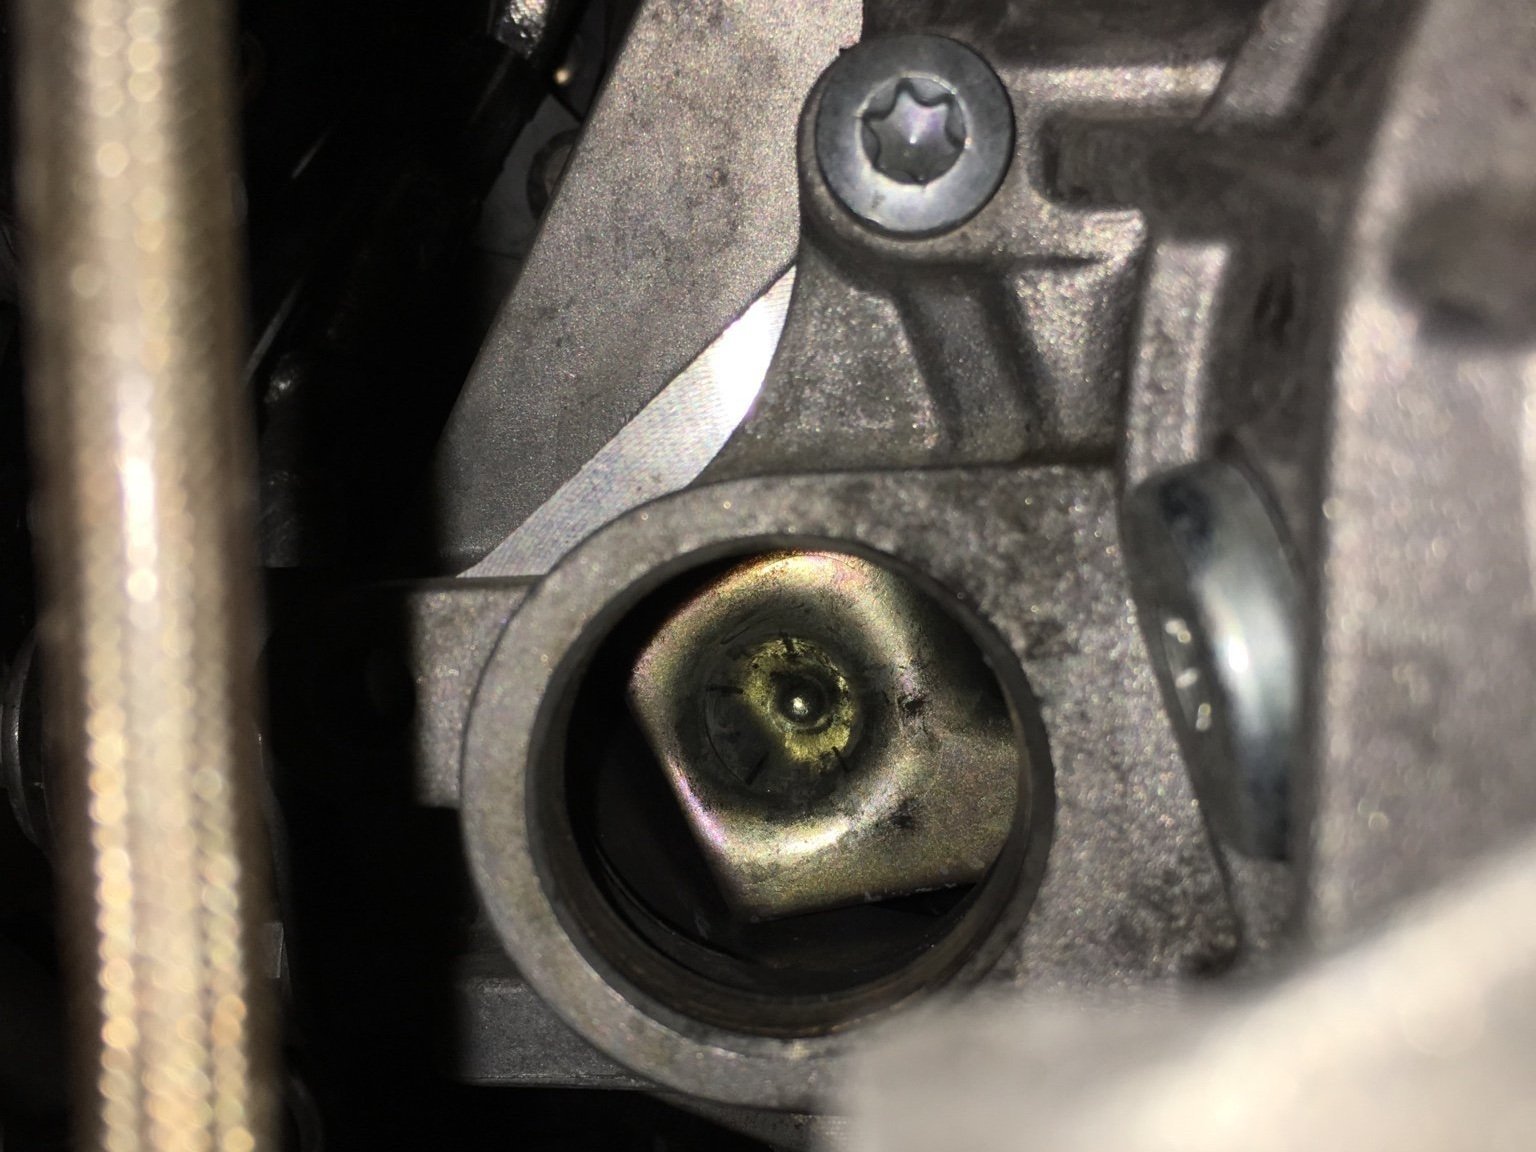
Push the rod end of the slave cylinder back into the transmission, making certain that the tip seats in the divot in the clutch fork. This is critical.
With the tip seated, push the body of the slave forward and line the bolt hole back up. If you don’t feel resistance to the forward motion at this point, you likely did not get the tip seated correctly. Do not proceed; you may end up with half a slave cylinder in your bell housing.
Replace the M10 triple square. Tighten to 20 Nm (15 ft-lbs).
Replace the underbody shield and put the car back down.
Cautiously pump the clutch pedal. If it does not return well, do not proceed. It is likely that the slave is not seated correctly in the clutch fork.
Start your car!
Note: if it doesn’t start no matter how hard you press the pedal, and you also installed a new slave line at the same time, the sensor in the master cylinder likely is not seated all the way. Use a screwdriver from the top to clip it in fully. It’s easy to get a partial engagement.

1. Schwaben pressure bleeder – highly recommended.

8. Rear view of slave; silver retaining clip is pulled towards the screen to release.

4. View of slave cylinder from the bottom with M10 triple square bolt.

11. View of the divot in the clutch fork as viewed from the rear.
Audi B8/8.5 A4/S4/RS4/A5/S5/RS5 with 6MT

Notifications
Reviews
There are no reviews yet.